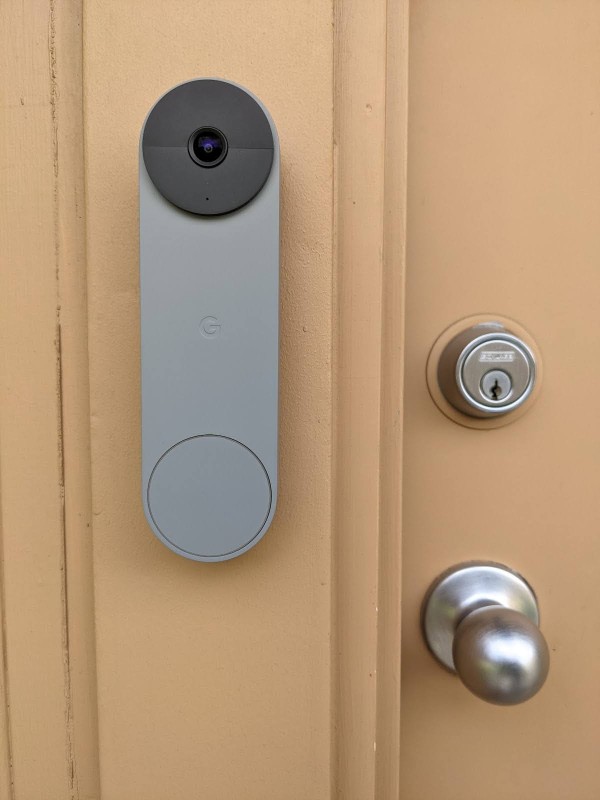
Although installing a Nest doorbell camera is a straightforward task, small variations depend on choosing a wired or battery-powered installation.
We prefer using existing doorbell wires with video doorbells since you have a way to charge batteries without dismounting the camera every couple of months to charge via USB. It also connects the doorbell to a mechanical chime inside your home so it can work as a low-tech doorbell button when you're not recording video.
The entire install process takes about 15 minutes with the following steps:
1. Charge the doorbell if using a Nest Doorbell (battery).
2. Install the Google Home app on your phone and sign in with your Google account.
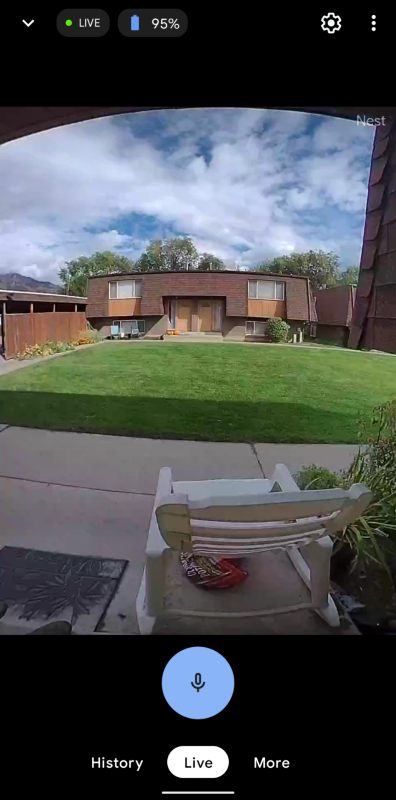
3. Set up your doorbell using the app.
4. Turn off the power to your existing doorbell and remove the old button to access the wiring behind.
5. Install the Nest doorbell mounting bracket where the old button was.
- Install the included wedge first if you choose to use it.
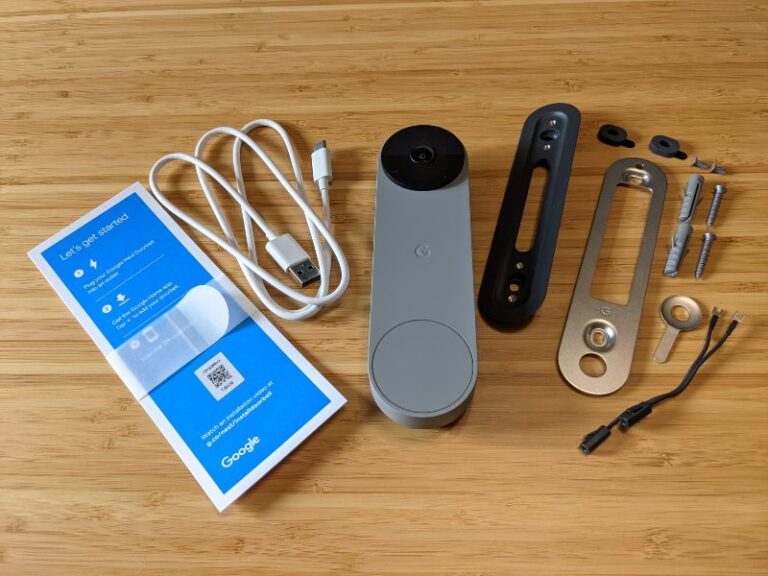
6. Attach the included wiring connectors to the back of the doorbell—it doesn't matter which wire goes on which screw.
7. Insert the doorbell wiring into the connectors and thread the excess wires into the wall before mounting.
8. Press the doorbell against the bracket and pull it down to lock it in place.
This process is the same for both Nest video doorbell models, though you might need to install an additional chime connector with the Nest Doorbell (Wired).
If you want more flexibility to install your doorbell wherever you want, then the Nest Doorbell (battery) can work anywhere it has a Wi-Fi connection. The installation process is simpler, though you need to remove the battery for recharging. It comes with a USB-C charging cable and no USB adapter, but the odds are high that you have a spare adapter in your junk drawer.
