Overall, the standard kits (Ring Alarm) provide solid security for various home sizes, while the Pro kits (Ring Alarm Pro) cater to those needing both smart security and reliable WiFi. The 14-piece kits offer the most sensors, making them the best choice for larger properties, whereas the 5-piece and 8-piece kits suit smaller spaces with more basic security needs. Choosing the right kit depends on household size, the number of entry points, and whether WiFi integration is a priority.
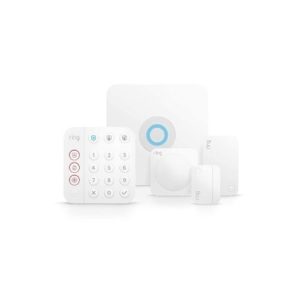
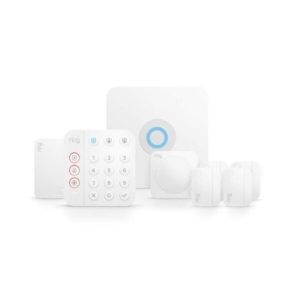
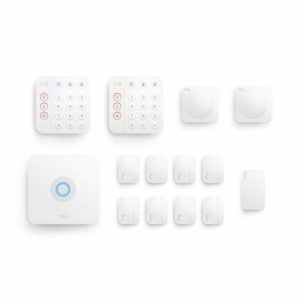
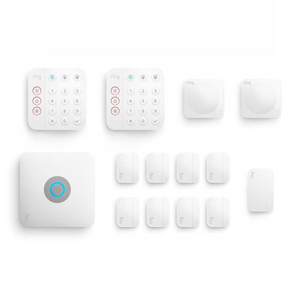
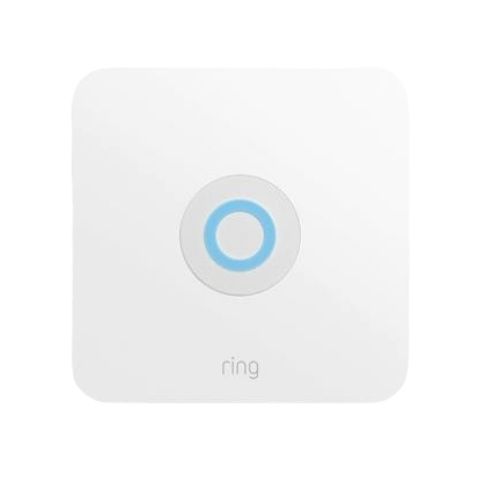
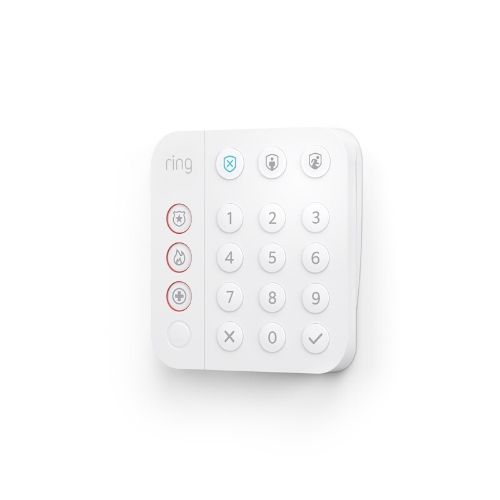
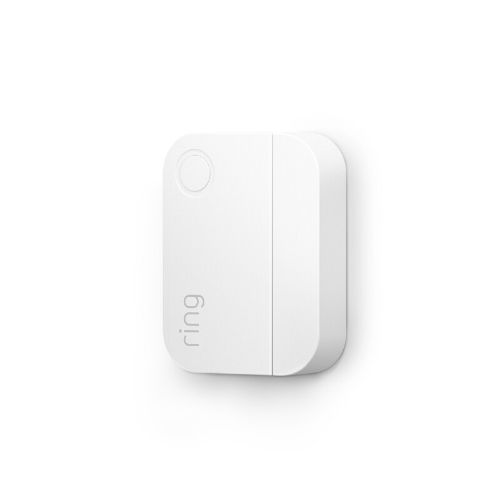
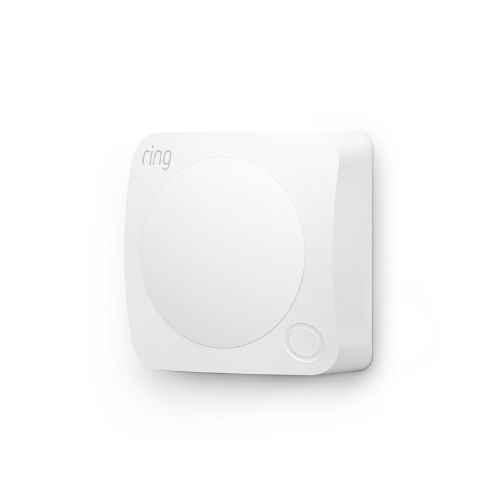
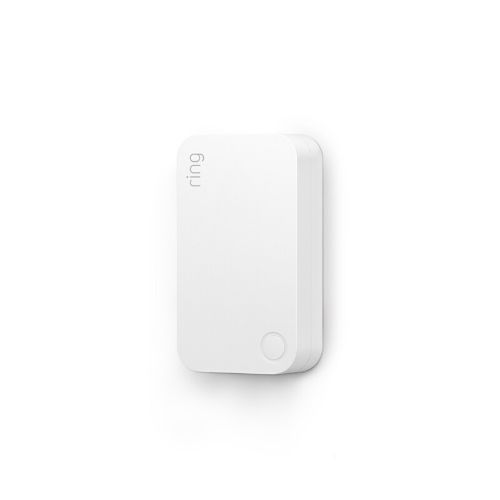
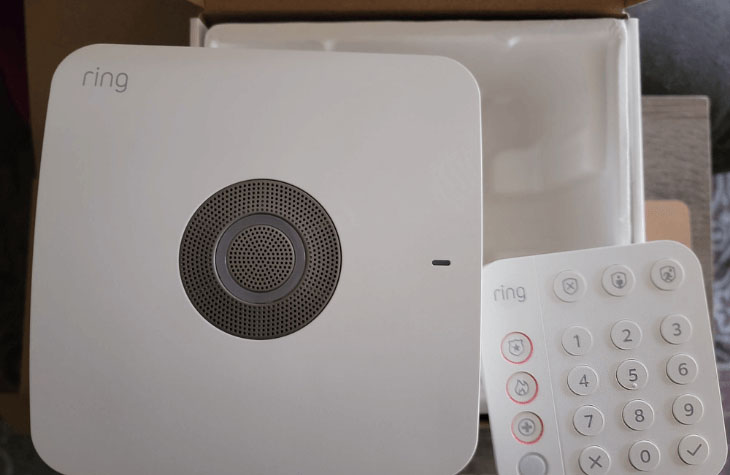
The Ring Alarm Security Kits offer a range of home security solutions, varying in coverage, equipment, and features. The Ring Alarm 5-Piece (2nd Gen) Kit, priced at $199.99, covers up to 1,000 sq. ft. and includes a base station, keypad, contact sensor, motion detector, and range extender, making it ideal for small apartments or condos. For $249.99, the 8-Piece (2nd Gen) Kit extends coverage to 2,000 sq. ft. and adds more sensors, including three contact sensors and two motion detectors, making it a better fit for small to mid-sized homes. The 14-Piece (2nd Gen) Kit, priced at $329.99, is designed for homes over 2,000 sq. ft., featuring two keypads, eight contact sensors, two motion detectors, and a range extender for comprehensive security.
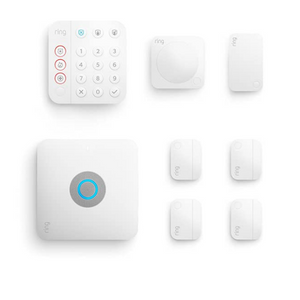
For those needing both security and built-in WiFi, the Ring Alarm Pro Kits integrate an Eero WiFi router with the security system. The 8-Piece Pro Kit, priced at $299.99, covers 1,500 sq. ft. and includes a Pro base station, keypad, four contact sensors, one motion detector, a range extender, and the WiFi router, making it an excellent choice for those seeking combined security and network stability. The 14-Piece Pro Kit, at $379.99, expands coverage to 3,000 sq. ft., featuring two keypads, eight contact sensors, two motion detectors, and the Eero router, making it ideal for large homes needing extensive coverage and WiFi integration.


