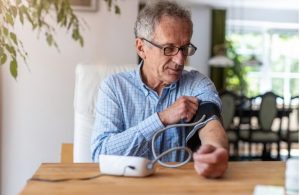
Take an accurate in-home blood pressure reading using digital blood pressure monitors by following the steps below:
- Get ready. Make sure you’re comfortable and relaxed. Your bladder should be empty, as a full one can impact the reading. Avoid smoking, exercise, and caffeine before taking your blood pressure.
- Sit down. A comfortable sitting position is also the best position for taking a blood pressure reading. Remove any clothing that is tight or bulky around the upper arm, or roll up your sleeve. Place both feet on the floor (no crossed legs!) and rest your forearm comfortably on a table at heart level. Place your arm with the palm of your hand facing up.
- Find your pulse. Locate the brachial artery by finding your pulse in the centre of your elbow. Press your index and middle fingers lightly against the inside of your elbow. If you can’t find it by feeling, use the upper arm cuff to locate your pulse.
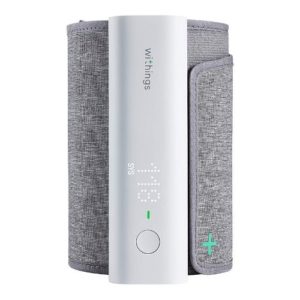
- Use the right size of cuff. For an accurate reading, you need a blood pressure arm cuff that fits correctly. The length of the cuff should equal at least 80% of the circumference of your upper arm.
- Apply the blood pressure cuff. Wrap the cuff around your upper arm (it might help to have someone assist you). The lower edge of the cuff should be about one inch above the pit of your elbow. The arm cuff should feel snug, but not tight. If your blood pressure cuff has an arrow on it, make sure it points to the bend of your arm.
- Power up the monitor. Press the power button on your automatic blood pressure monitor to turn it on. You should see all the display symbols flash on the screen, followed by a zero. The zero means that the monitor is ready for action.
- Inflate the cuff. Press the start button if your digital monitor has automatic cuff inflation. For manual inflation, close the air valve and pump the bulb rapidly until the pressure gauge reads at least 160. (We recommend devices with automatic inflation because they're much easier to use.)
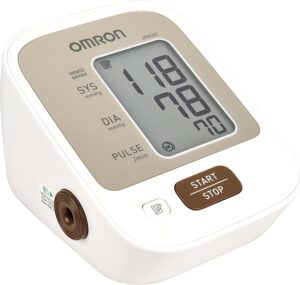
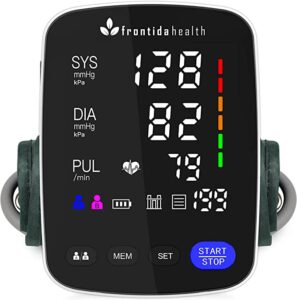
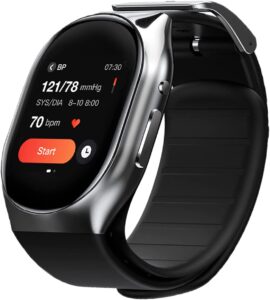
- Get your readings. Watch the monitor for the pressure readings. They will display on either the left or right side of the screen. You’ll hear a long beep, which means the blood pressure measurement is complete. Take note of the pressures on the display.
- Systolic blood pressure should be on the left or the top of the screen.
- Diastolic pressure should be on the right side of the screen or just below the systolic blood pressure reading.
- The monitor may also display your pulse rate.
- Many monitors also track if there’s an irregular heartbeat, which may indicate undiagnosed health issues.
- Finally, allow the cuff to deflate completely before taking it off. If you used a manual inflation device, open the air valve to release pressure in the cuff.
Sometimes you’ll get a BP measurement that just doesn’t make sense. This is fairly common, especially when you’re new to home blood pressure monitoring.
If you didn’t get an accurate reading, don’t immediately re-inflate the blood pressure cuff. Remove the cuff and give yourself at least one minute before reapplying the cuff and repeating the steps to measure your blood pressure.
It's also worth taking your new home blood pressure monitor with you to your next doctor’s appointment so you can ask questions and your doctor can make sure you’re using the monitor correctly.
You can also verify that your home monitor gets the same results as the equipment in your doctor’s office. It’s good practice to bring in your home monitor at least once a year to make sure readings are still accurate.
Staying on top of your blood pressure is important, but it doesn’t have to be difficult. With the right home blood pressure monitor, it’s easy to keep your health in check.
By partnering with your doctor to keep an ongoing record of your blood pressure between appointments, you’re more likely to get the right recommendations and medications.
